Combo USB-C Power Delivery & DisplayPort 1.4 KVM - Dual Monitor
For technical support or questions regarding KVMs and their accessories that are not answered in the product description below, please submit a support ticket.
Combo USB-C Power Delivery & DisplayPort 1.4 KVM
With previous models, you would have to choose: DisplayPort KVM, or USB-C KVM? What if I have both? You could put together a solution, but it’s kind of expensive and inconvenient. Using a MAC with one of our DisplayPort 1.4 KVMs would mean that you lose the power delivery option that people really enjoy from our USB-C KVM. Introducing: The COMBO KVM.
Listen. No KVM is perfect BUT our customers tell us -- The L1Techs KVMs are pretty darn good.
Example Setup:
PC 1 (DP Only Desktop)
Input 1: DP 1.4 -> DP 1.4
Input 2: USB-C Combiner* -> Bottom USB-C
PC 2 (M1 Mac)
Input 1: Moshi USB-C** -> DP
Input 2 -> Bottom USB-C*** -> USB-C
Monitors
Output 1: DP 1.4 -> DP 1.4
Output 2: DP 1.4 -> DP 1.4
SEE NOTES
DisplayPort Only PC Compatibility* - L1Techs USB-C Combiner
To use the bottom USB-C port with a DisplayPort only device you WILL need the L1Techs USB-C Combiner. If you want to use a MAC + PC, typically you would have to use a DisplayPort KVM & convert the USB-C device output to DisplayPort. Cables like the Moshi USB-C to DisplayPort cable cannot be flipped around to be a DisplayPort PC output to USB-C KVM input. Therefore, if you want to use this L1Techs combo KVM with a DisplayPort device, the best solution we offer is the USB-C Combiner.
DisplayPort Inputs for USB-C Device** - Moshi USB-C to DisplayPort 1.4
If you have a USB-C device (e.g. MAC), every input besides the bottom USB-C will require a USB-C to DisplayPort 1.4 cable. We highly recommend Moshi as they have performed the best in our testing.
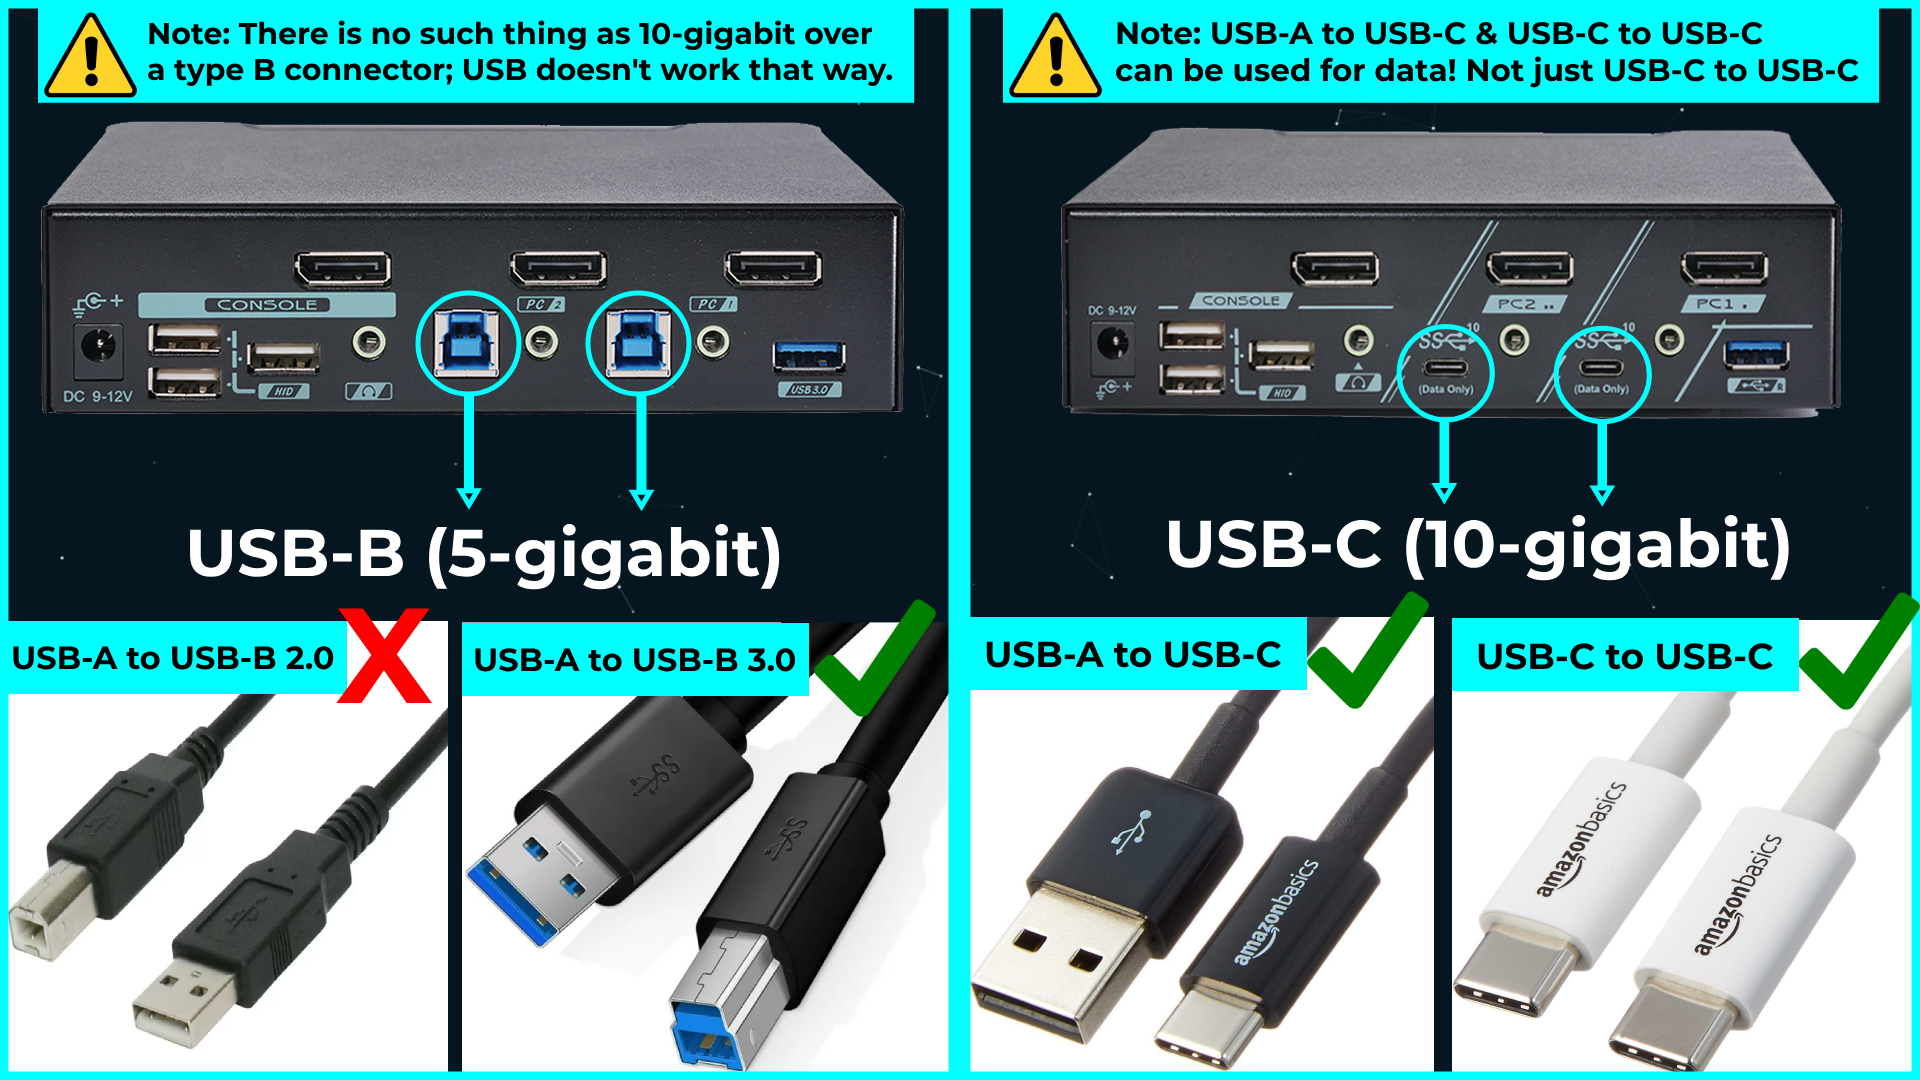
Display & Data USB-C to USB-C (Bottom ports)***
The KVM uses USB and DP input on the same USB-C connector. It is not thunderbolt, but often thunderbolt ports can fallback to USB + DP on one USBC connection. Sharing USB and DisplayPort on the same USB-C cabling will limit the total bandwidth of the cable. You will need a display & data capable USB-C to USB-C cable for your USB-C hookup (e.g. MAC).
Features:
Two DP 1.4 connections from each computer (up to 4k/120hz or 8k/30hz).
Lower resolutions + Higher framerates possible e.g. 144hz @ 1440p work just fine because of full DP 1.4 compatibility. (Overclocking not supported)
DisplayStream Compression Supported
Intelligent EDID Engine for HDCP Rekeying (computers know when the port is inactive. Check out the Level1Techs repeater if you need monitor emulation).
HDCP Passthrough Supported (maintains HDCP signal integrity)
Intelligent USB HID passthrough (includes work-arounds for known problematic devices)
Import Usage Information
MAC 1 External Monitor Limit
Some older MACs have an external monitor limit of 1! There is a workaround with DisplayLink drivers and cables, but you will be severely gimped with resolution and refresh rate.
According to MACWorld, here are some MACs and their external monitor capabilities:
M1 MacBook Air: Maximum one external display
M2 MacBook Air: Maximum one external display
M2 MacBook Pro: Maximum one external display
M2 Pro MacBook Pro: Maximum two external displays
M2 Max MacBook Pro: Maximum four external displays
More info here: https://www.macworld.com/article/675869/how-to-connect-two-or-more-external-displays-to-apple-silicon-m1-macs.html
U2/U3 Switch
Unfortunately, it is not possible to support the full DP 1.4 bandwidth AND USB 5gbps speeds with just one wire. So, we give you the option. At the back of the KVM is a switch that lets you pick between USB3 and USB2 speeds. This switch prioritizes DisplayPort bandwidth or USB bandwidth, in other words.
70w Power Included
The included power brick is auto-sensing 100-240 volts, 70 watts output, 19-21 volts DC, center positive. The PD Mode switch on the back lets you control power delivery to each of the USBc inputs. The KVM chipset supports up to 120 watts power delivery, but you will need to use an upgraded power brick or your laptop's power brick if you want to go beyond the included 70 watt DC adapter.
Rear Inputs:
2x DisplayPort 1.4 from each input
2x USB C (Display & Data Only Inputs) from each input
Rear Outputs:
2x DisplayPort 1.4
3x USB 2.0 Ports
1x USB 3.0 (USB 3 5gbps, or USB 3.2 gen 1)
3.5mm Audio Microphone
3.5mm Audio Headphone
Controls:
USB Mode: 5gbps USB3 (uses 25% of DisplayPort bandwidth)
USB2 mode (prioritize DisplayPort bandwidth)
Power Mode: Control how many amps to which USBc Port
Front:
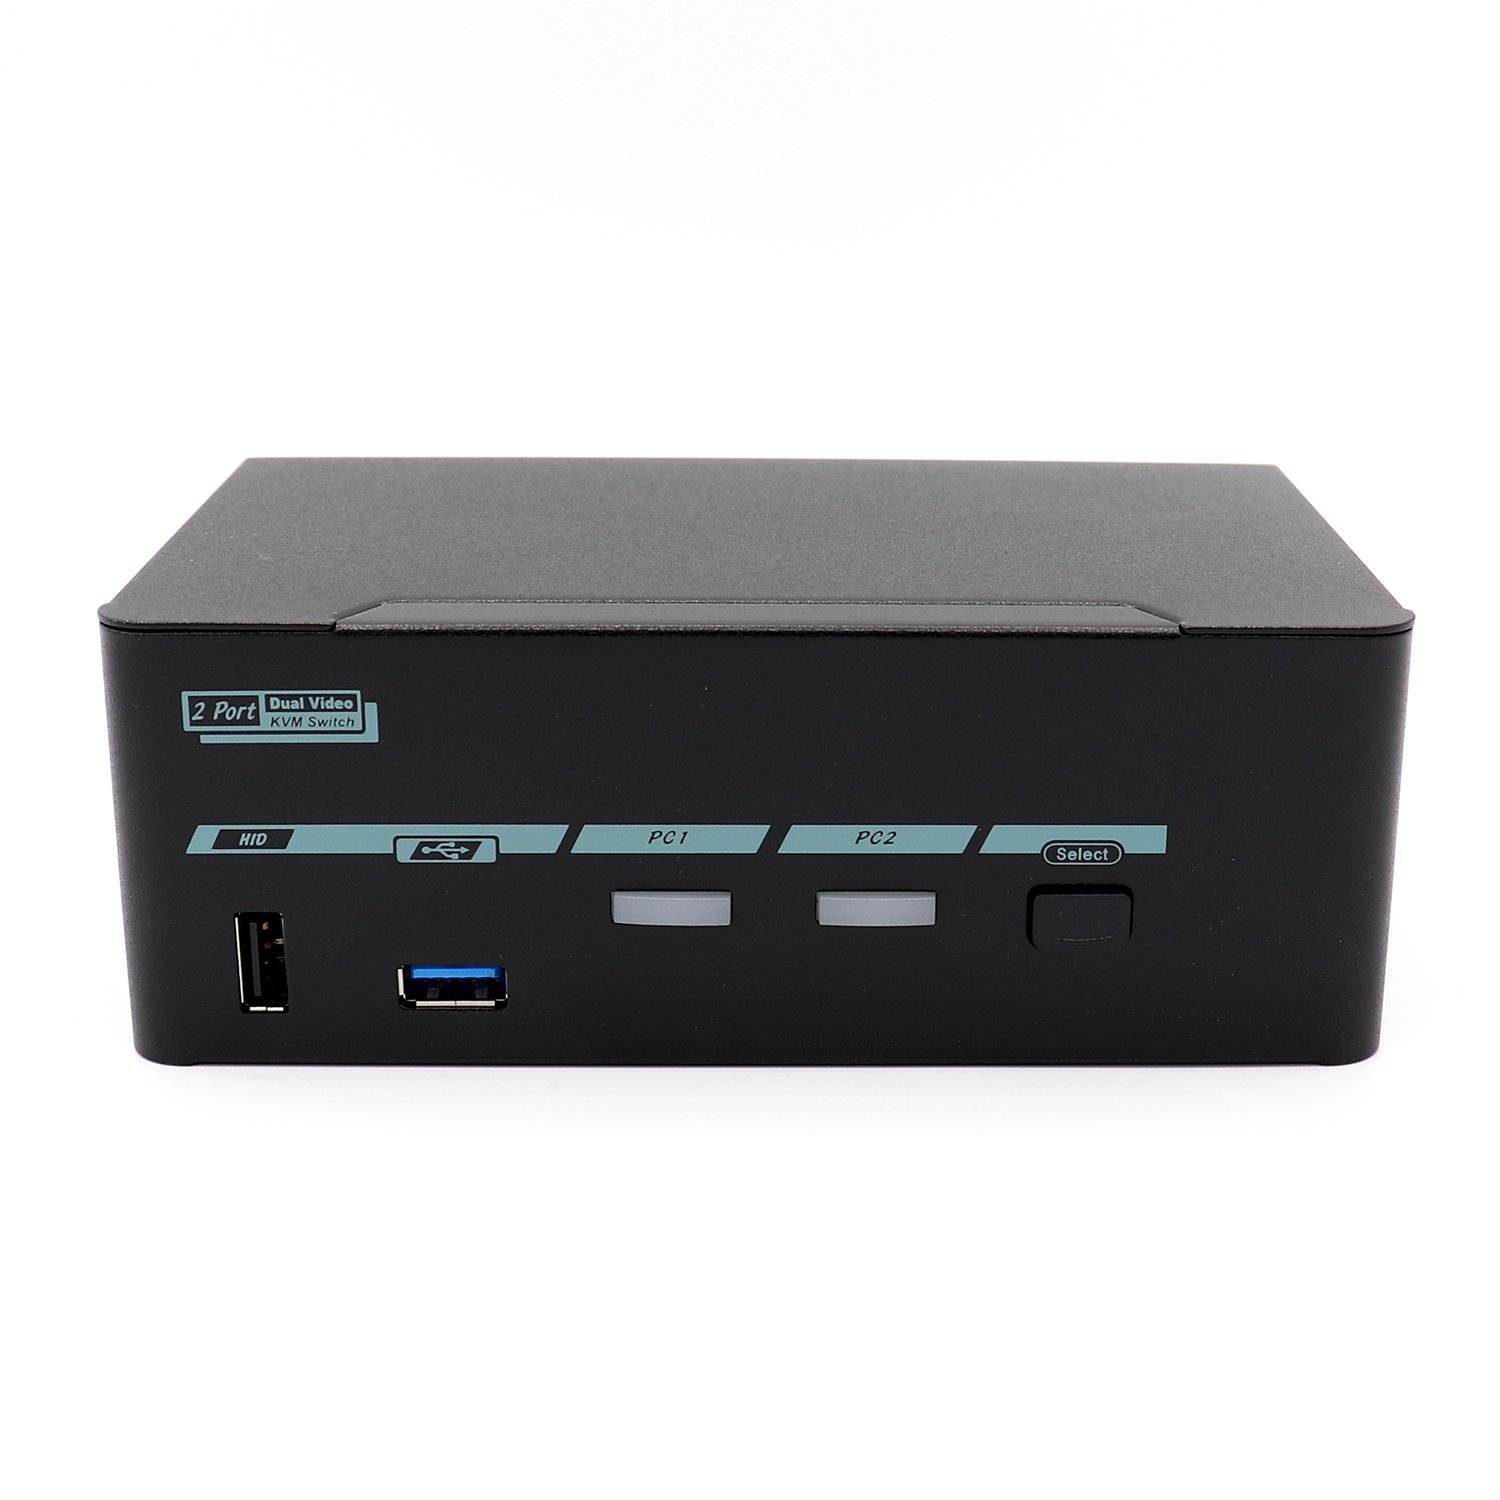
Pushbutton for switching Inputs
1x USB 2.0 HID port
1x USB 3.0 "A" type (USB 3 5gbps, or USB 3.2 gen 1)
Power Adapter: AC Input 100v - 240v with IEC 60320 North American power cable. International customers will need a regional IEC 60320 power cable.
Dimensions: 6.25” w x 4”d x 2.25”h (15.9 x 10.2 x 5.7 cm)
Warranty: One year free parts and labor service warranty.
Rack Mount Kit: Not compatible with our Level One rack mount kit.**
NOTE: No cables are included, we have some decent DP1.4 cables here, but Club3D brand cables are better. Fibbr brand are the best.
NOTE2: we don’t recommend connecting to ASMedia USB controllers if you can help it, as they can be problematic coming out of sleep mode. Please report any issues with USB peripherals.

